Mechanical
Provide the nest, mandrel, insertion-tool or pick-point drawing with the insertion datum, ferrule support and available clearance. Review transitions and the final stop against bore, coating and thin-edge contact limits.
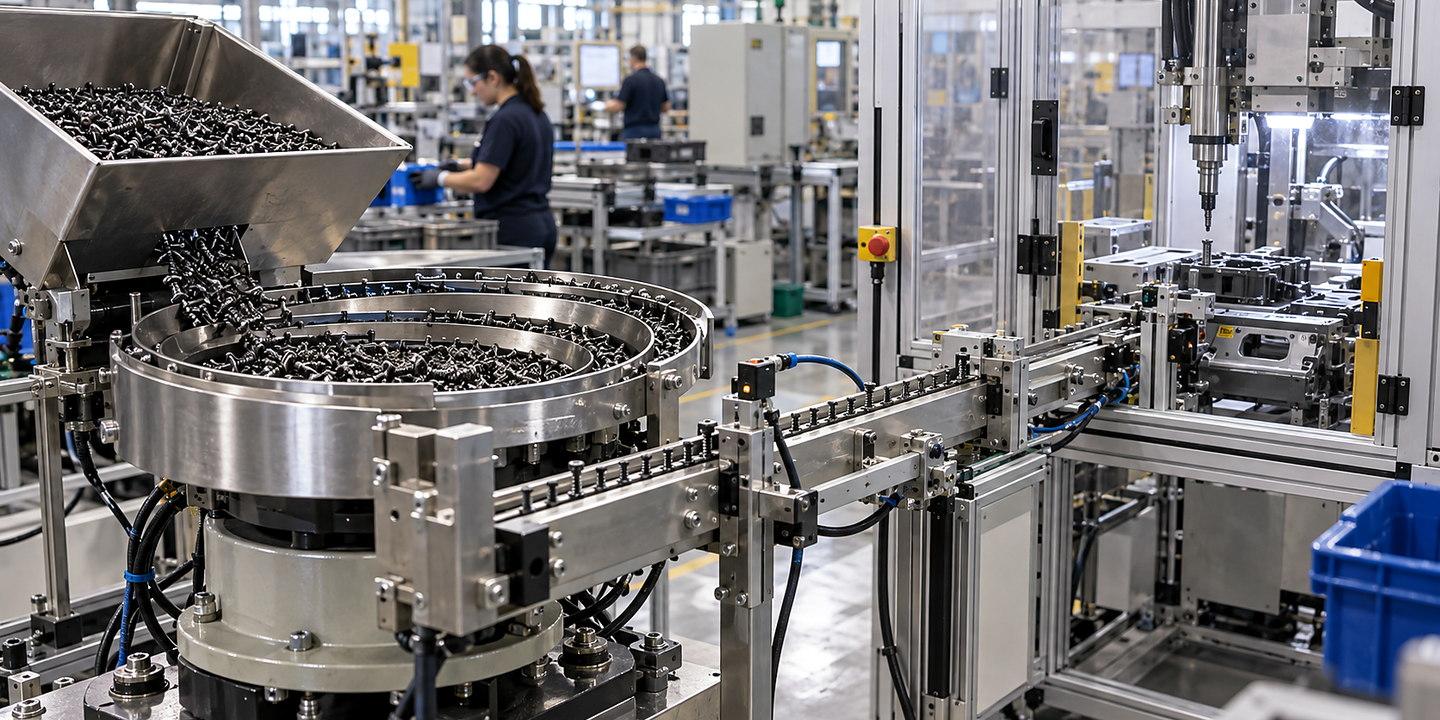
Define ferrule-feeder integration at the nest, mandrel or insertion tool: support, clearance, release confirmation, late requests, withdrawn demand and recovery records.
Define the ferrule pose at the actual receiving tool, including the insertion datum, support and available clearance. Agree the confirmation needed before release and how the feeder and assembly cycle respond to a late or withdrawn request. Include nested-pair handling, refill and restart with a full buffer in the trial plan.
Use the complete-process trial plan with the ferrule interface checklist. Keep physical interfaces, control decisions and the people responsible for resolving them identified together.
Plan ferrule feeders around real component variation, bulk condition, orientation, usable delivery rate and the downstream interface. Discuss representative part trials with Sorting Solutions. Your integration review should connect bulk condition and replenishment method, required orientation and delivery rate and the people who run the process.
Discuss your application

Provide the nest, mandrel, insertion-tool or pick-point drawing with the insertion datum, ferrule support and available clearance. Review transitions and the final stop against bore, coating and thin-edge contact limits.
Retain the proposed supplies, isolation, protective devices, panels and cable-route schedule. Coordinate access and responsibilities with the receiving assembly equipment; ferrule geometry alone does not establish an electrical requirement.
Agree the confirmation needed before release and the response to a late request, withdrawn demand or unresolved nested pair. Test these handovers with the actual downstream cycle, refill and buffer-full restart.
Keep risk controls, stop behaviour, access and reset responsibilities in the integration review. Include the assembly handover and recovery tasks in the site-specific assessment; a successful feed trial is not a safety validation.
Tie delivery results to the ferrule variant, sample and tooling setup. Record double feeds, orientation failures, damage and interventions separately, including the first released ferrule after changeover.
Identify who owns the ferrule drawings, normal bulk supply, receiving-tool interface and acceptance record. Retain the agreed operating and recovery information, change parts and adjustment records for each permitted family.
For Ferrule Feeders, your team can review each stage before the complete installation is put into routine use.
Share representative production components and the downstream interface, including the normal range for component geometry and variation for ferrule feeding & presentation and the difficult surface, fragility and entanglement behaviour cases.
Compare suitable methods and use focused trials to show how each option performs against bulk condition and replenishment method.
Connect the equipment to your line, services and controls while resolving required orientation and delivery rate for day-to-day operation.
Confirm escapement and downstream pick interface, then complete and record jam, damage and recovery acceptance checks before your operating team takes over.
For your application: check bulk condition and replenishment method, required orientation and delivery rate, escapement and downstream pick interface, and jam, damage and recovery acceptance checks as part of the complete line trial.